November
November 1, 2021
Ah, November, most favoured of months, you’ve finally arrived. Oh, that lingering scent of wood smoke when walking the dog at 4:30am; fog lifting above the river at dawn; the return in earnest of sweater-wearing, cozy clothing; the mystery of never quite knowing if that smell in the air really is the precursor of the first flurries, and finally, that blessed silence which can only come when neighbours store away for good those dirt bikes and Harleys.
In honour of the occasion, a seasonal pop-up card…..

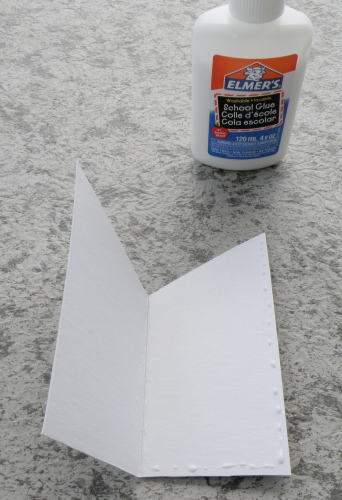
The card is folded in half. In pop-up land, any crease becomes the means for popping, and in this case, the two cut outs will be glued onto either side of the crease so when the card is opened, the crease will provide the muscle for lifting the two leaf cutouts….
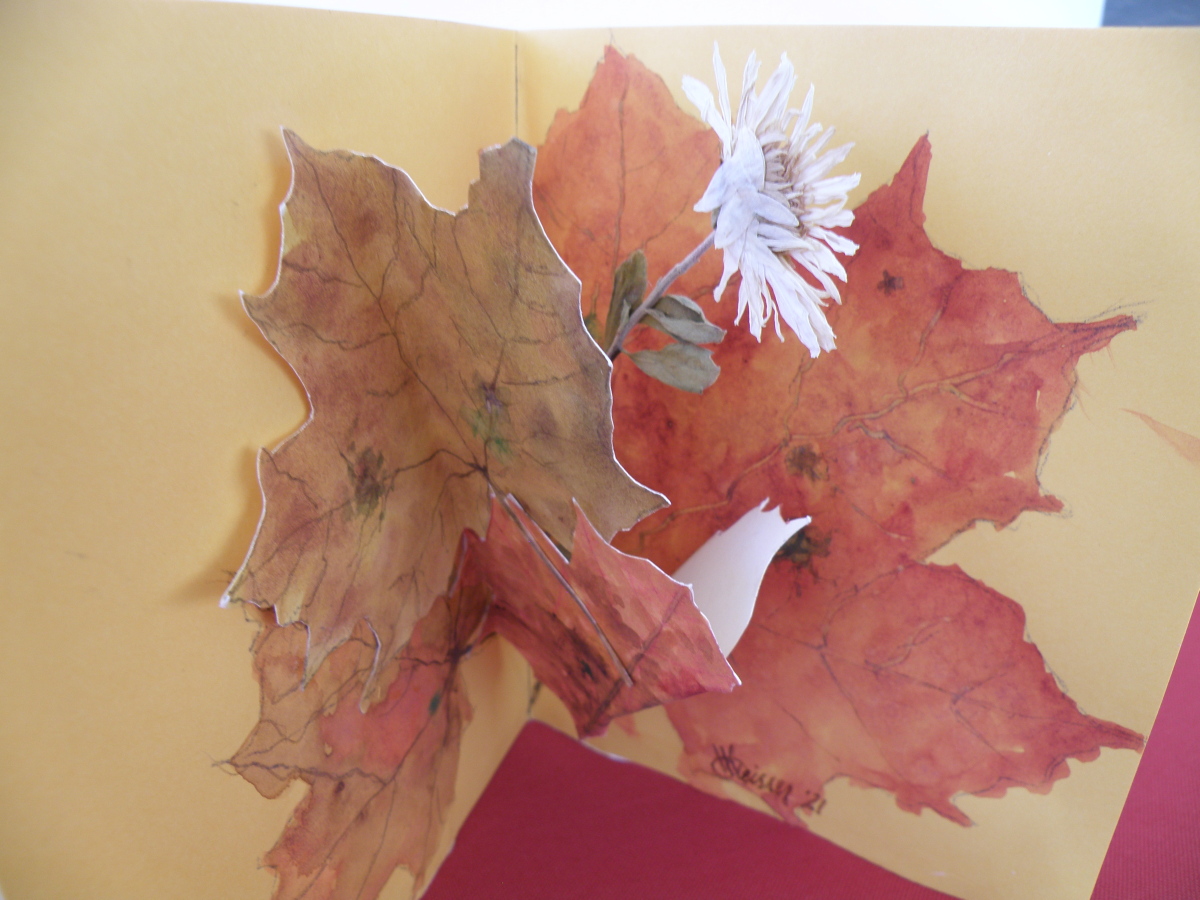
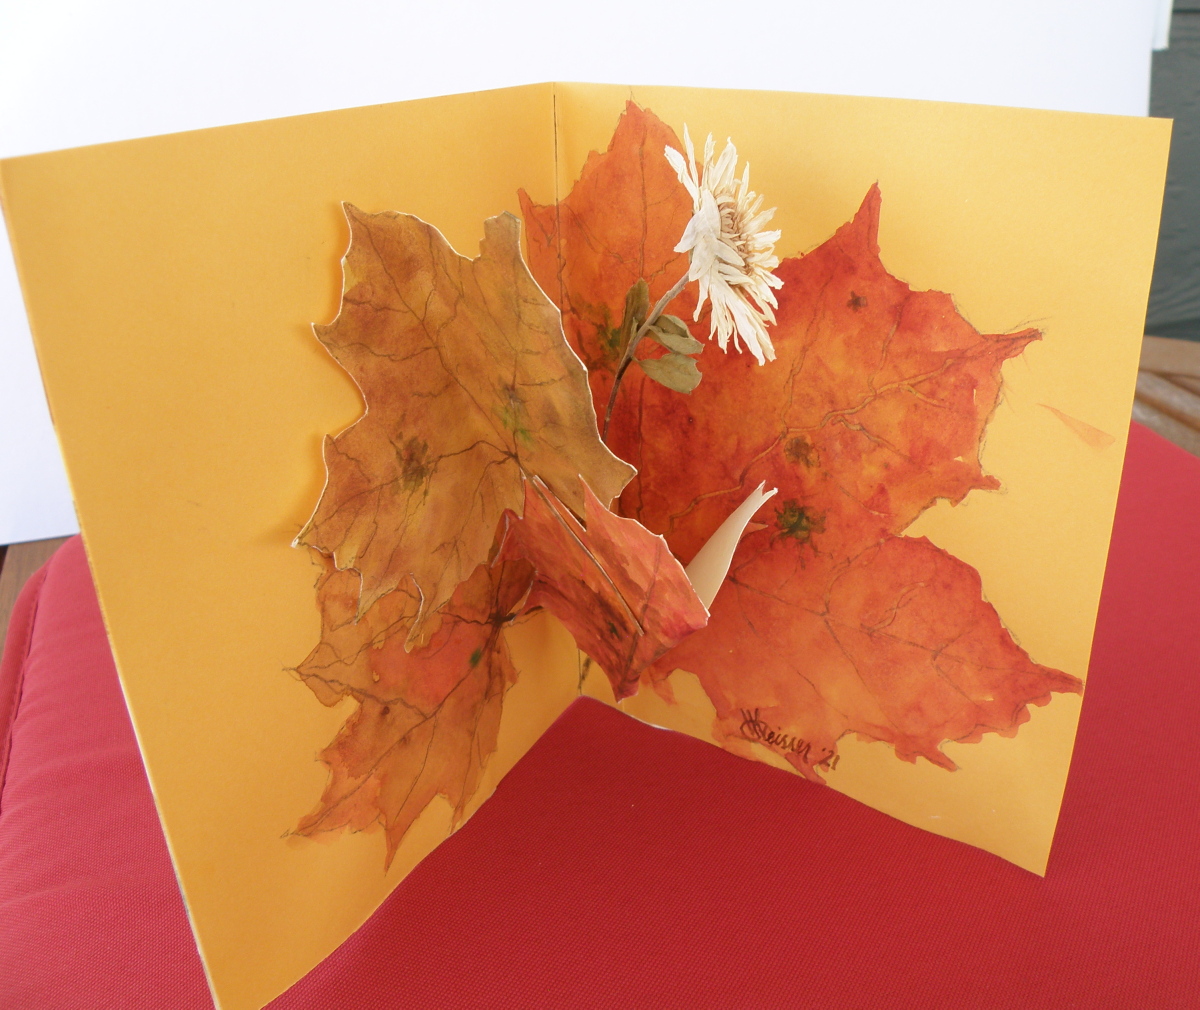
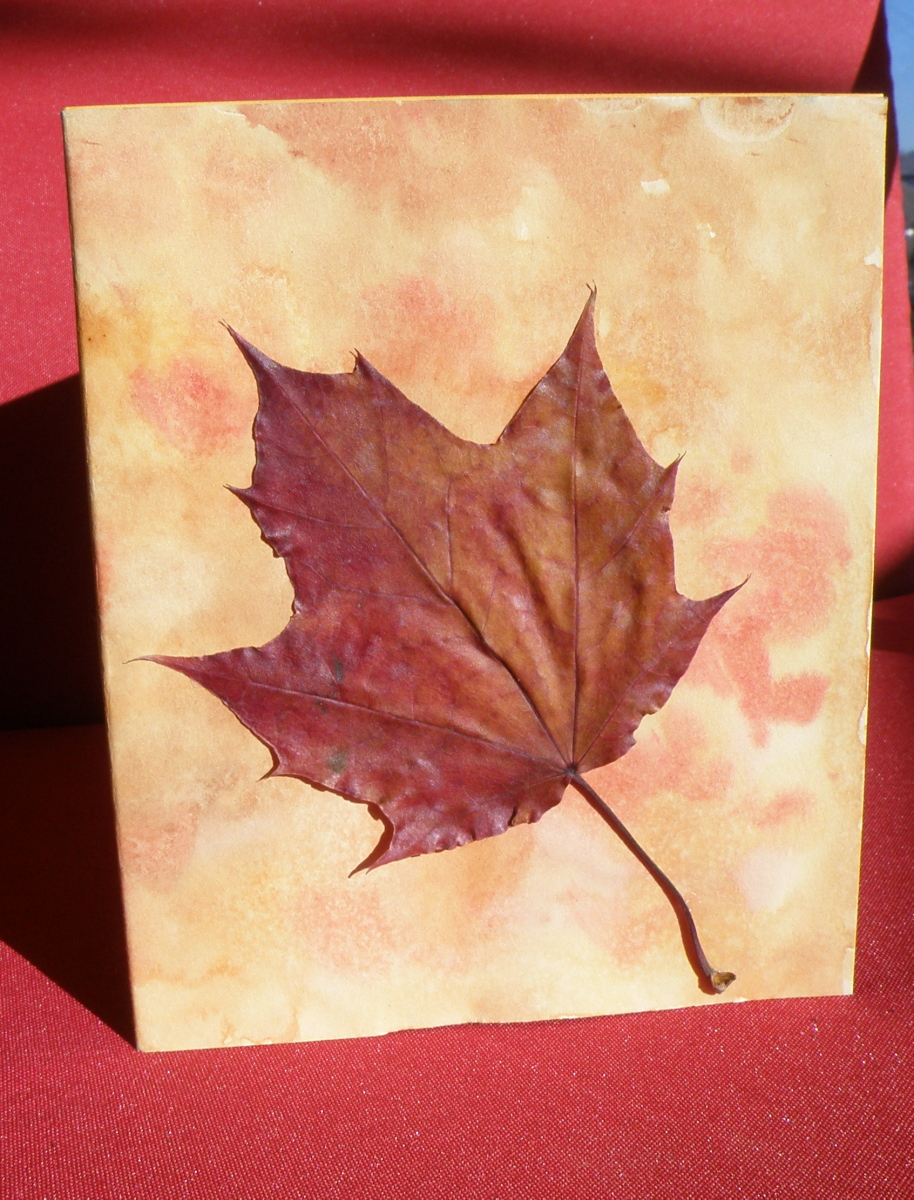
A second sheet of paper is cut and then hand-painted with watercolour, glued onto the back of the other piece in order to provide additional sturdiness; and as a final touch, an actual Fall maple leaf is glued onto the front. Using diluted Elmer’s Glue serves as a sealant:
Rosh Hashanah 2021 con’t…
September 6, 2021
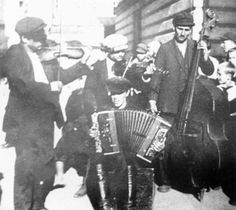
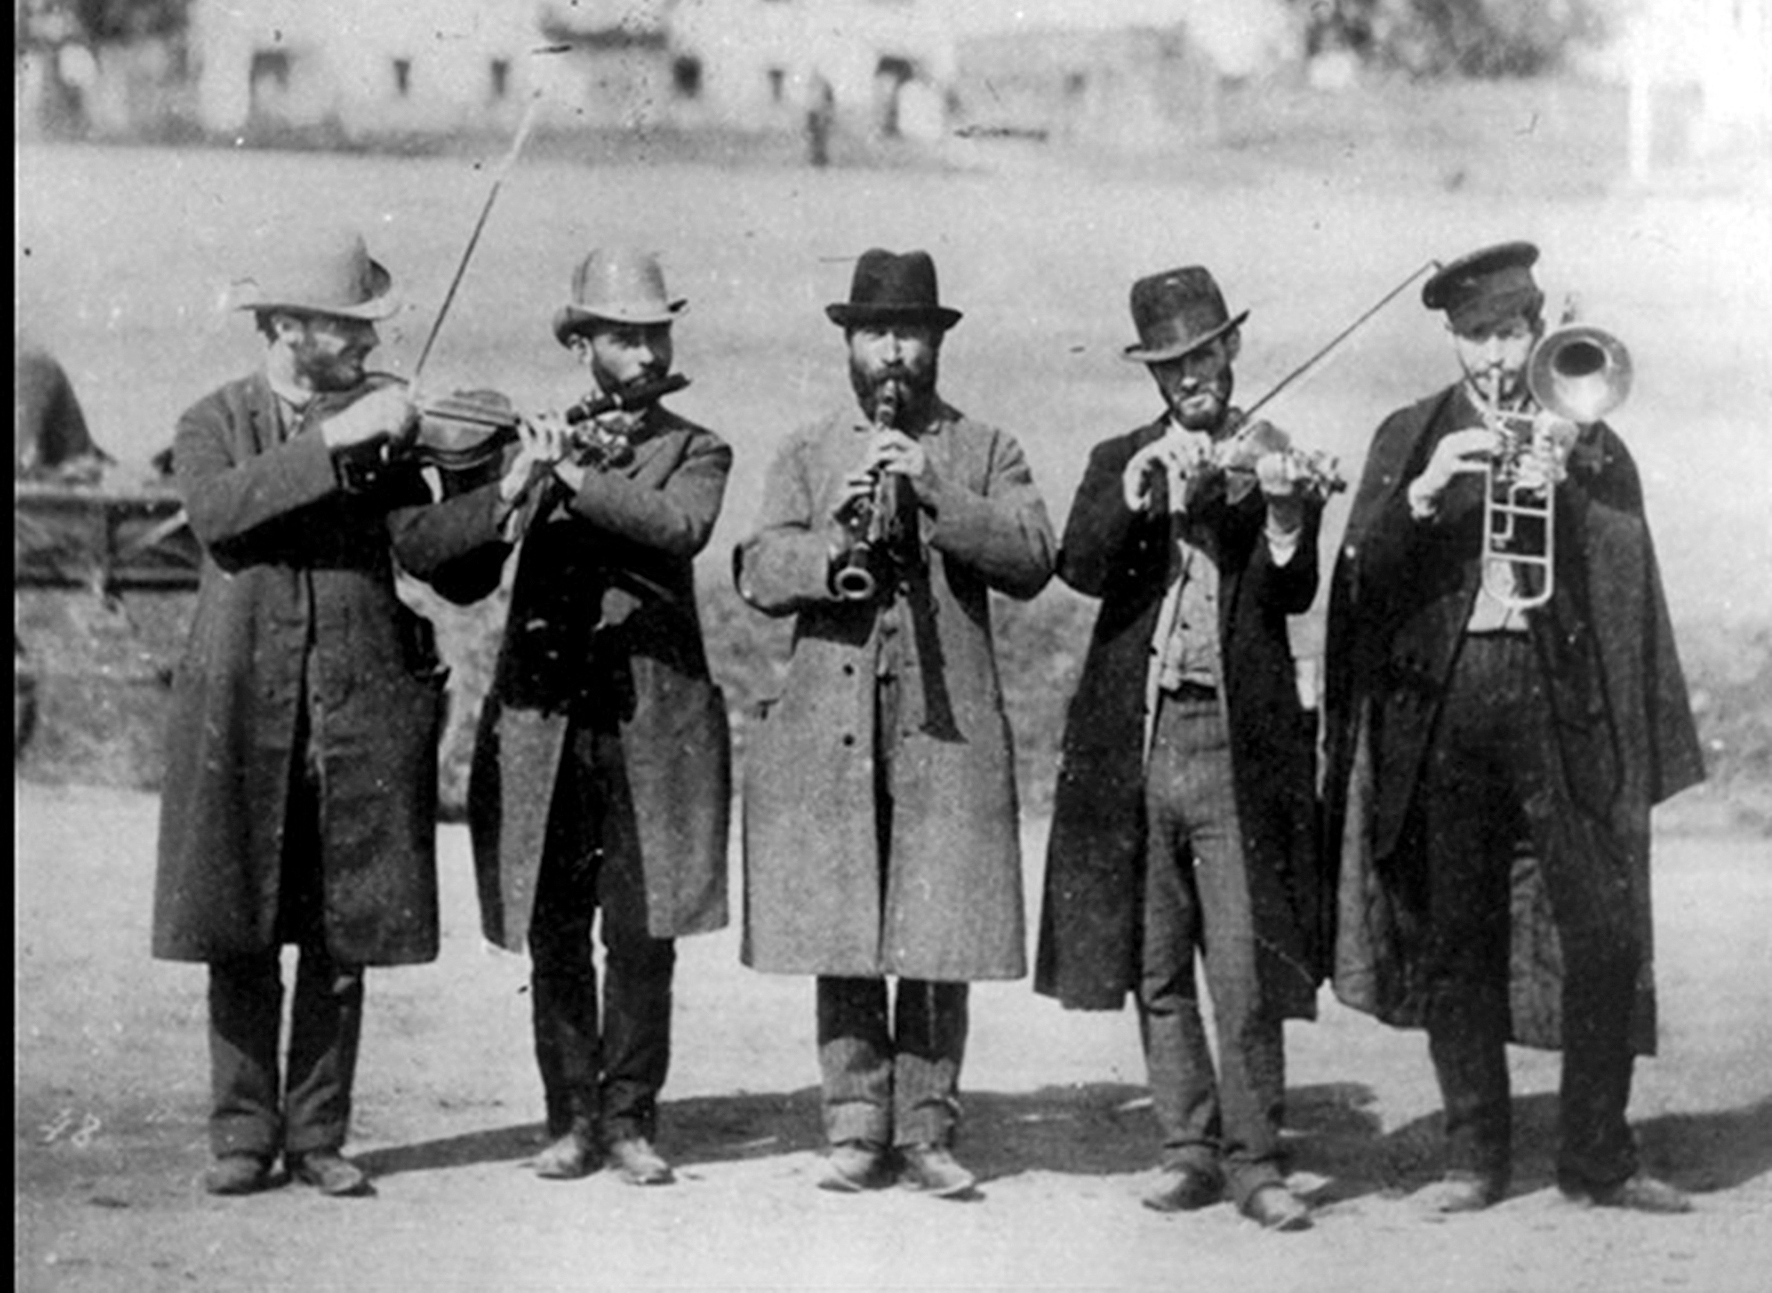
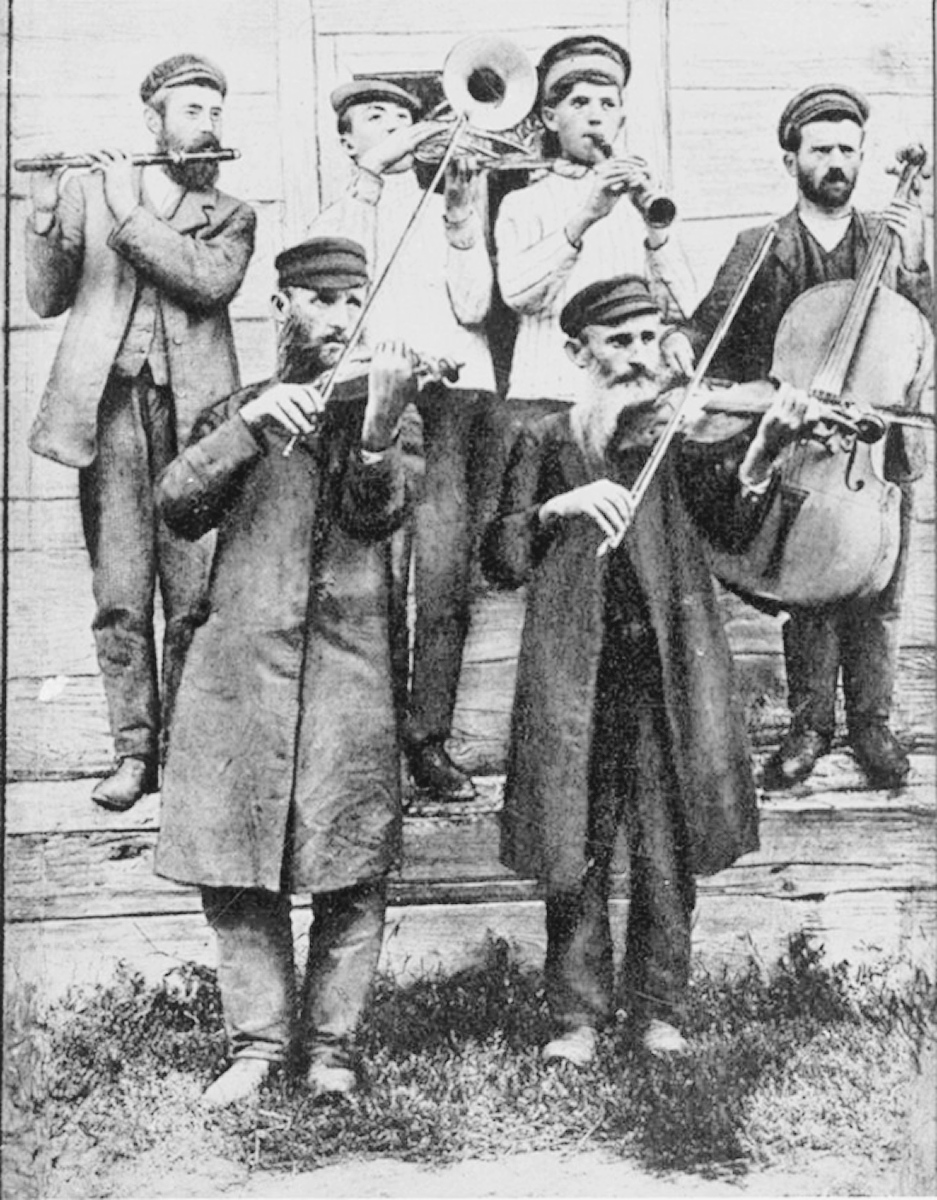
As described in yesterday’s posting, my interest in making a Jewish New Year card has centred around recreating the atmosphere of a 19th century Eastern European shtetl (yiddish for ‘village’) where the Jewish community developed a rich heritage of customs, including a unique style of musical tradition called klezmer.
Here is a taste–more likely a reminder–of what klezmer sounds like, being rich in the minor keys and featuring clarinet, violin, accordion and trumpet:
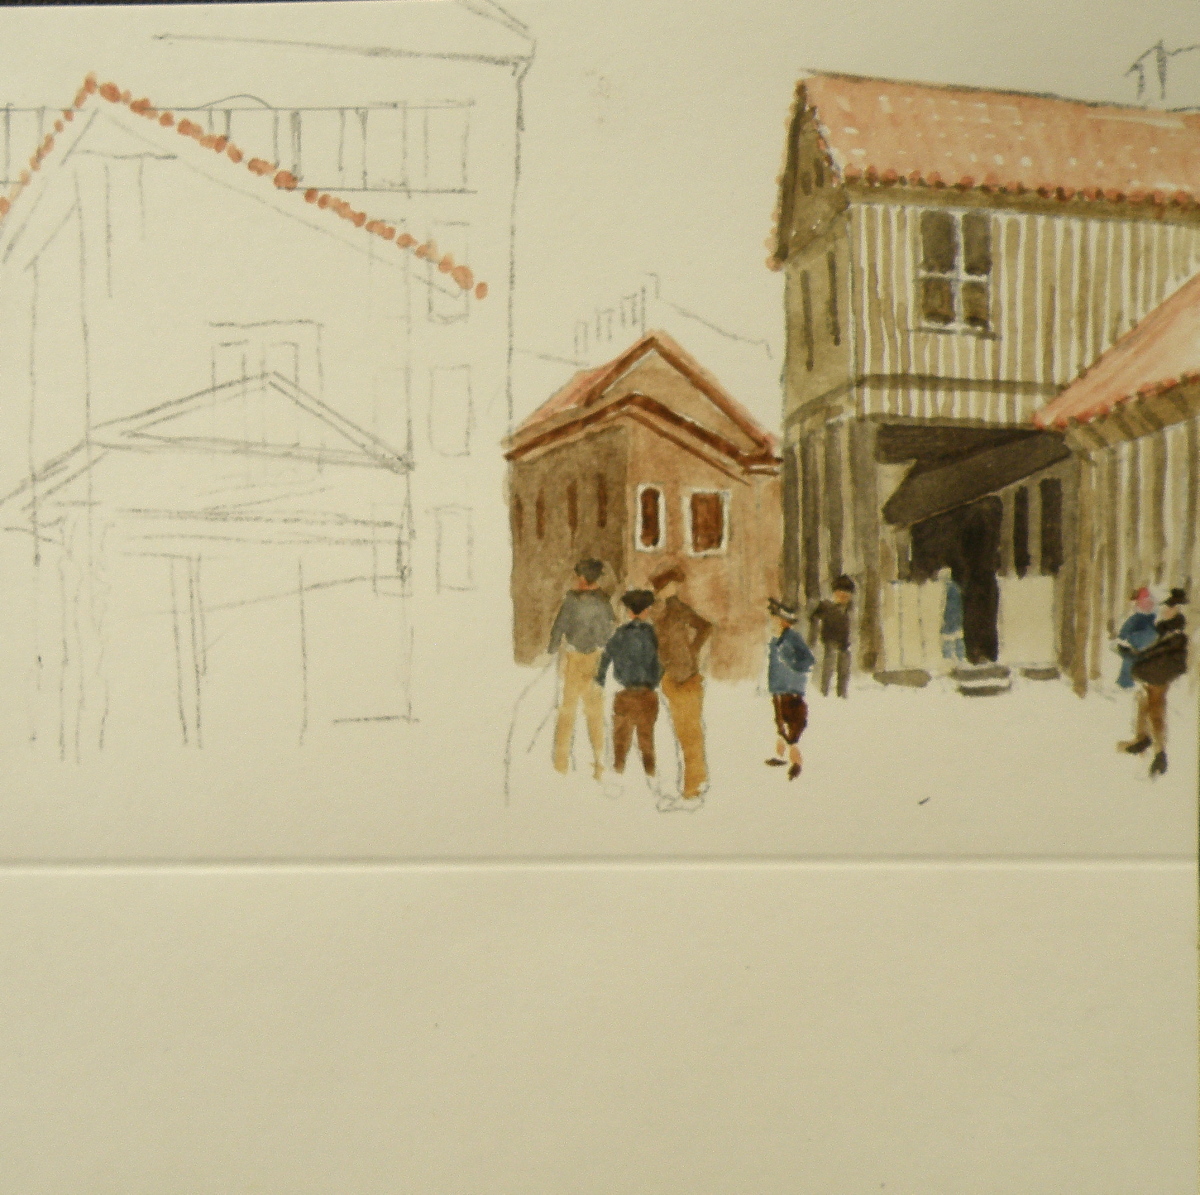
And here is the initial painting of my Rosh Hashanah 2021 greeting card….
Rosh Hashanah 2021
September 5, 2021
In Hebrew, ‘rosh’=’head’, ‘ha’=’the’, and ‘shanah‘= ‘year’: ‘head [of] the year’, or, new year. Another name for this holiday is ‘Yom Teruah’ which means ‘day of shouting or blasting’. So on Rosh Hashanah, most commonly in Synagogue, the ram’s horn is trumpeted and it is itself a major symbol of the beginning of what are the High Holy Days when Jews around the world prepare themselves for fresh starts and new beginnings. Often a meal is served among family and will include the traditional apples and honey which signify a sweet year ahead.
To celebrate this auspicious and happy occasion, I created a greeting card of my own since I’ve not been able to lay my hands on any Rosh Hashanah cards in our small city of 100,000. I know there is a Jewish community in Kamloops, but not being Jewish myself, have yet to explore what it may have to offer by way of greeting cards and other such items.
The famous and well-loved musical ‘Fiddler On The Roof’ is set in a Polish/Russian shtetl (which in Yiddish means ‘small town’ or ‘village’), a part of a larger city which is populated by the Jewish community. And I wanted my card to have the feel of this loved and enjoyed Broadway show and film.
Using early photographs of Eastern European klezmer musicians, I set about searching out subjects for an authentic-looking greeting card, wanting to populate it with 19th century shtetl villagers and their klezmer-playing musicians:
….eggciting week ahead
March 20, 2016
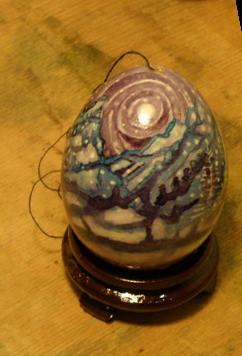
Painting eggs is something of a little hobby which began almost 35 years ago when the process of the dyed Ukrainian eggs was intriguing from an artistic point of view–meaning, the way/how it was done, not the desire to become overwhelmed with making intricate geometric designs. So employing the method of using beeswax to wax over those parts of an egg one wanted kept white, then dropping the egg into coloured dye, again waxing over the area which would retain that dye’s colour, and dropping it into yet a different coloured dye and repeating the process until the entire egg was covered in wax.
At this point, the wax was removed by carefully holding it over a candle flame and wiping the melted wax free with a tissue. Once the wax was removed, the egg was blown of its contents and if being used as a Christmas tree ornament, a string was affixed to the top.
Here is an example…..
Quite a number of years later, the notion of doing away with the dye/wax method in favour of actually painting on the egg’s surface was experimented with. This was successful but a huge breakthrough occurred when moving from painting chicken eggs to painting duck eggs. A duck egg’s surface is not chalky like chicken eggs, but rather satiny smooth and extremely receptive to watercolour. This was discovered while staying in The Philippines, where duck eggs were easily come by.
Painting a duck egg would be done, then the egg would be spray-lacquered so as to protect and seal the watercolour-painted surface. Once completely dry, the insides would be blown out….

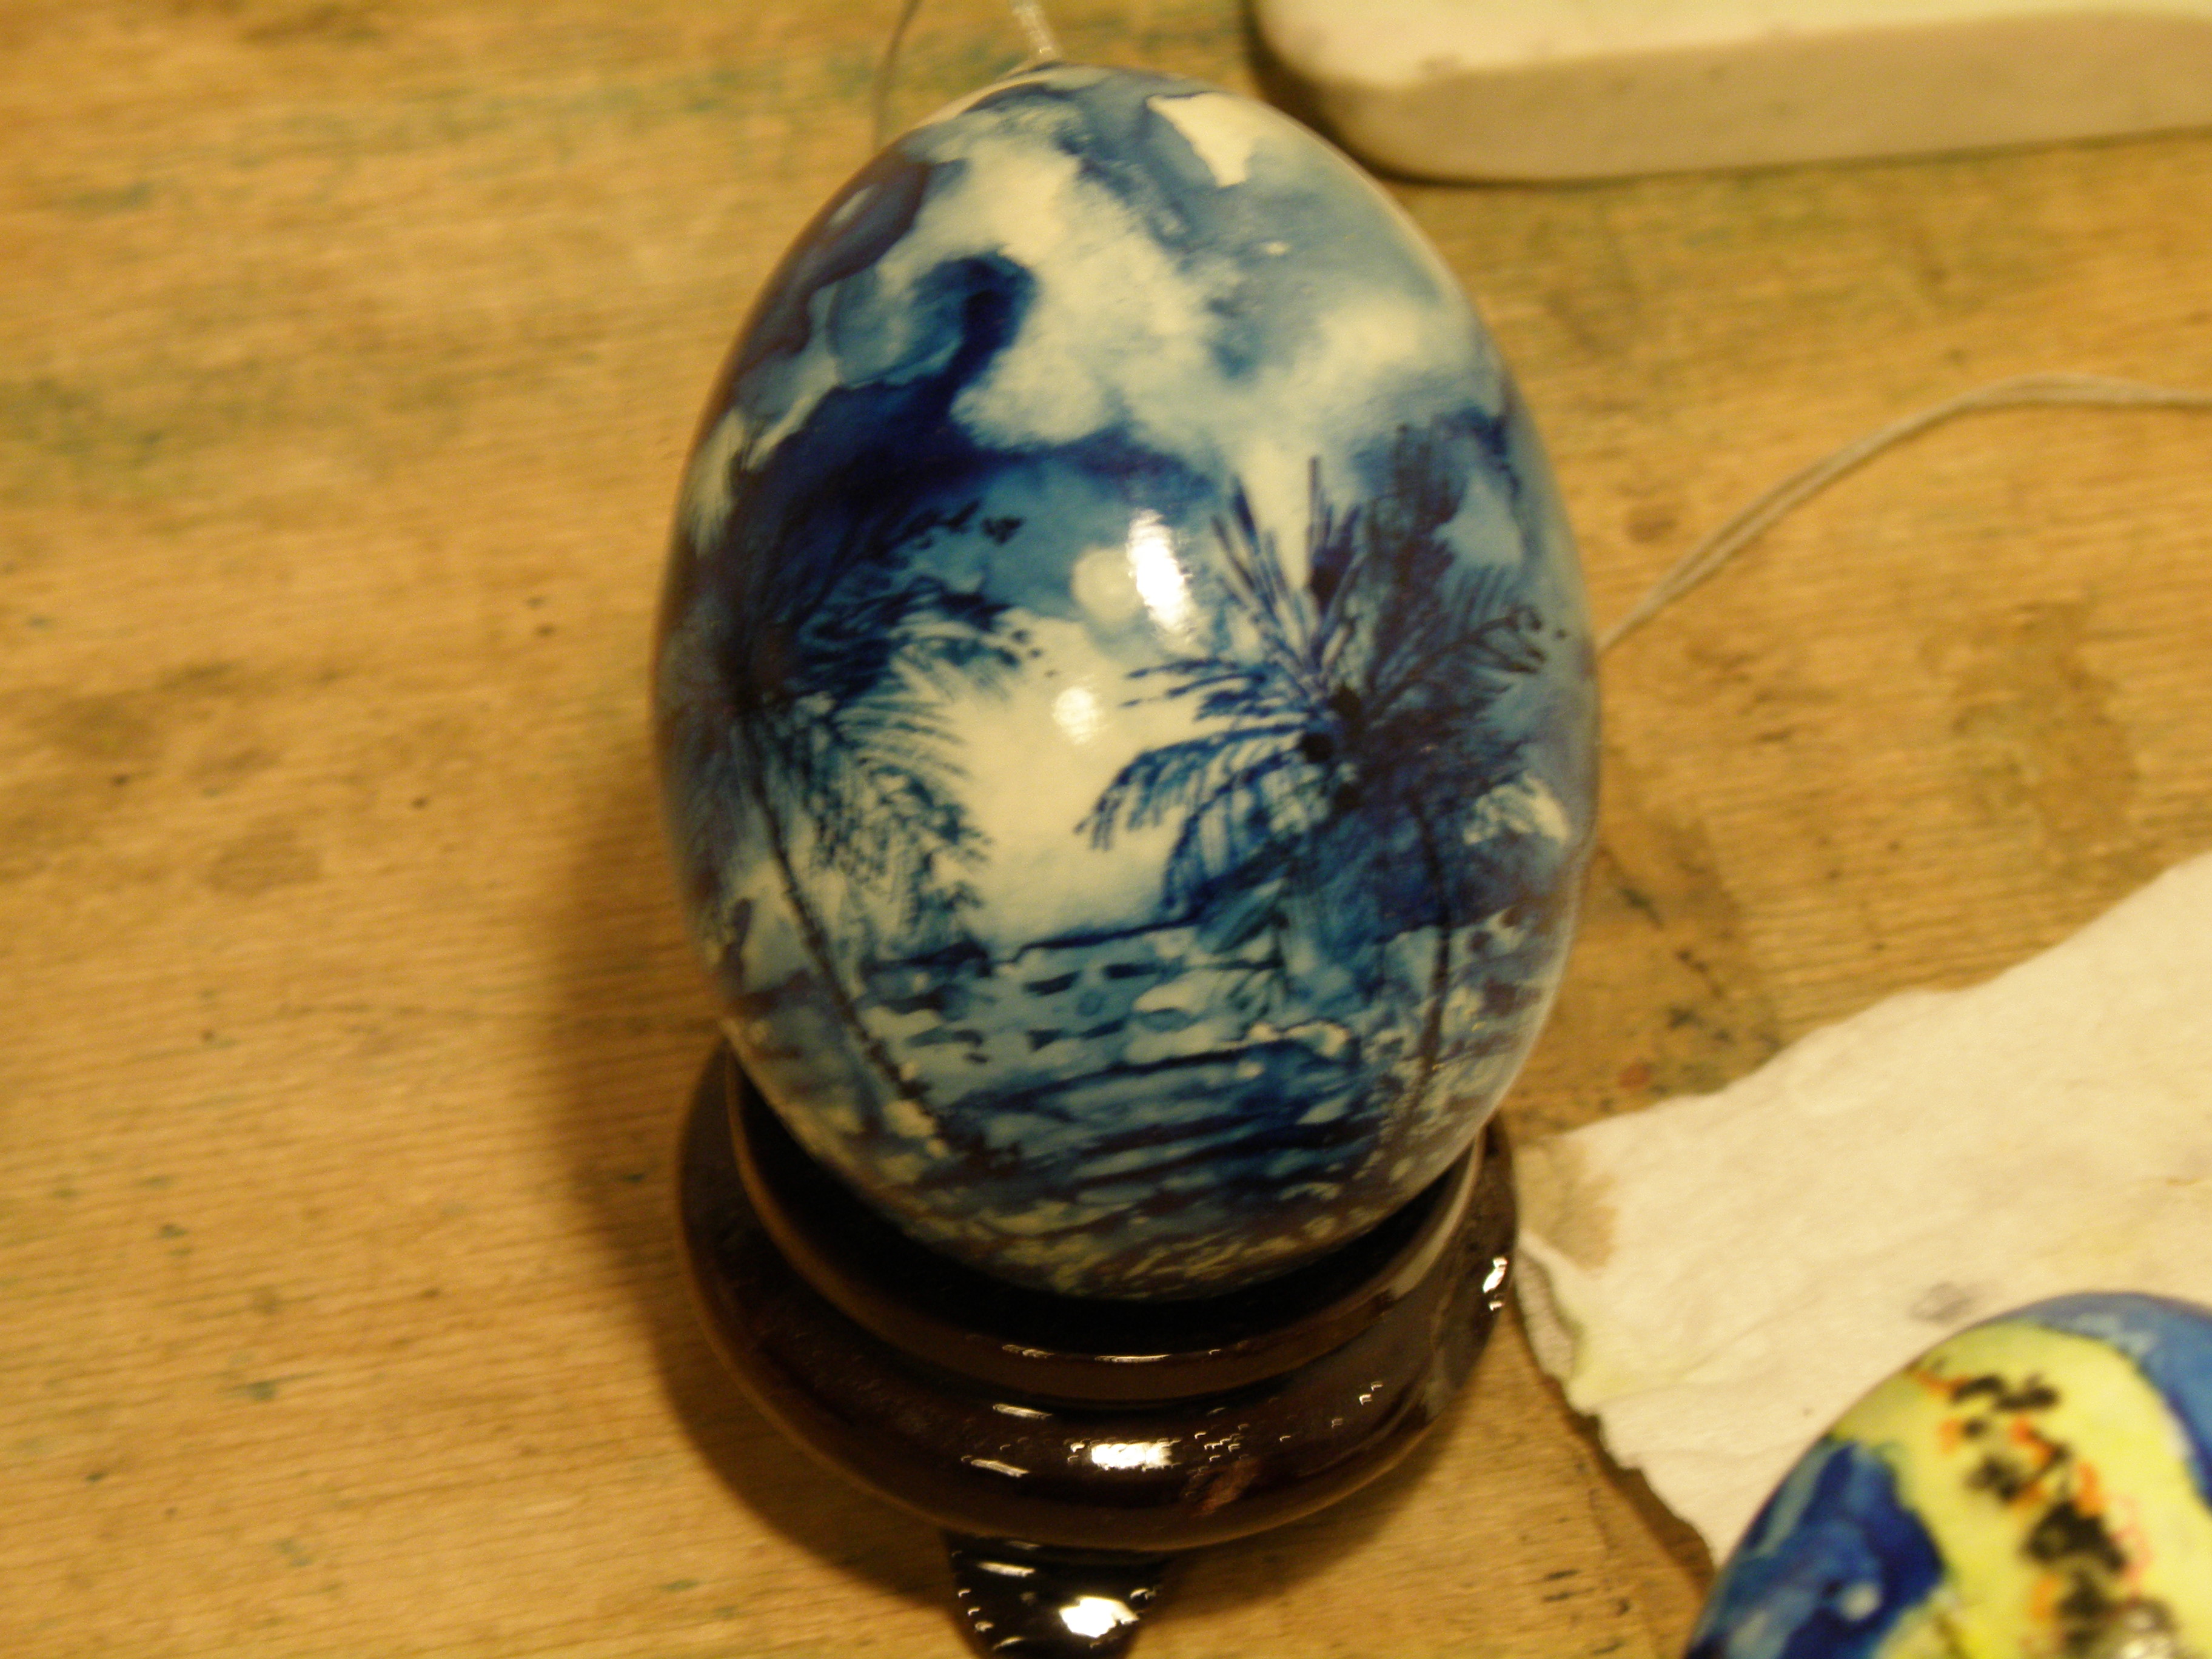
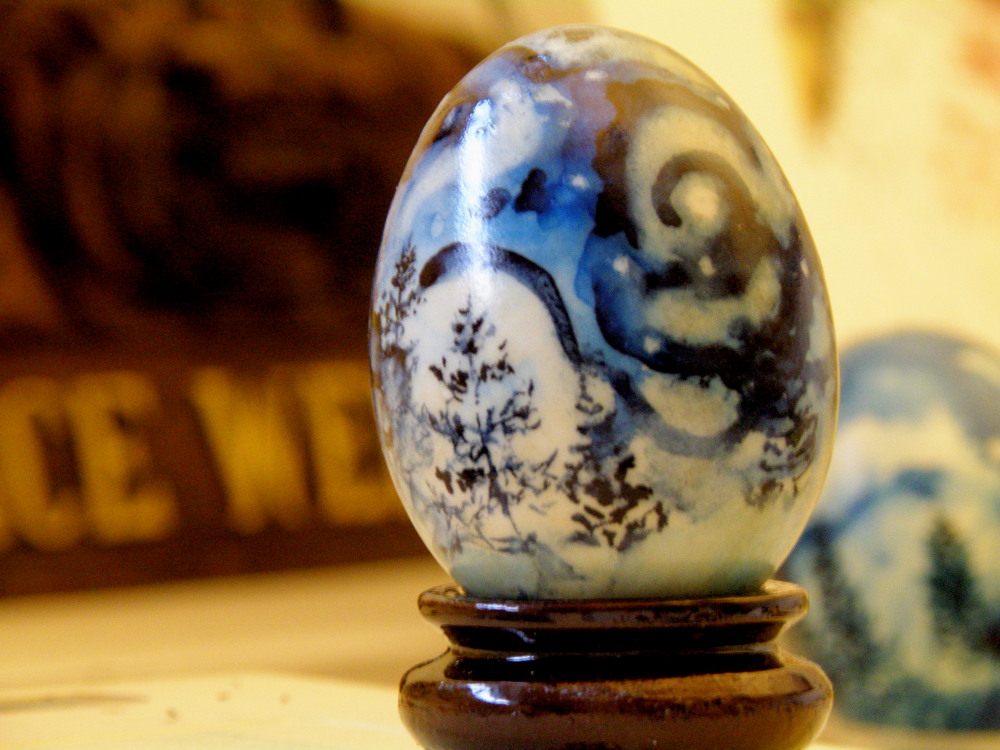
……and in honour of the 6th day of Christmas….
….which brings us to today and trying to replicate a moonlit rocky mountain scene on a duck egg purchased locally ($3.50/half doz) through craigslist and meeting the man carrying his trusty picnic cooler outside the supermarket:

A very Happy and Blessed Easter to all my blogging friends!
conclusion to ….. DIY bookmarks
July 2, 2015
IT IS HEARTENING to read the comments lavished on me for this little project, and to see no one asking me ‘why bookmarks when we have Kindle Readers?’
heh heh….I do own one. And I do have a Google Reader app loaded onto my cell phone. And yes, I do occasionally (like at the dentist’s) have need to continue reading the free download of the 19th C. contemporary of Charles Dickens, Wilkie Collins’ “The Guilty River” (a mystery).
And, because I didn’t want to undergo surgery for a crushed rib cage attempting to read the kazillion-page ‘War and Peace’ in bed, I did read that on my Kindle.
HOWEVER, reading ‘War and Peace’ on a Kindle, though less cumbersome, brings no satisfaction whatsoever when, many grey hairs later, one finishes it. Why? Because those kazillion pages simply vanish into thin air. You don’t get the ego satisfaction of hefting the giant tome onto a bookshelf and nodding at it whenever going by, thinking, “I read that — the whole damn thing — every damn page of it.”
LIKEWISE, young misses into the third week of dating a diehard Kindle devotee–invited to the apartment for coffee, waiting for it to be served–don’t get to peruse the bookshelves to get a good glimpse as to what this person is REALLY like.
THE CLINCHER FOR ME was when Kindle and Google started charging as much for their so-called cloud download of electronic nothingness, as a bookstore does for an actual, substantial, lap-filling, real-and-in-your-hands, BOOK. Uh-uh. If I’m gonna pay $20 for a book? I WANT A BOOK.
THUS, the bookmark DIY project. Because there are still alot of I-want-something-for-my-money book readers like me, who see Kindle as the garment of the Emperor. So if a kindred spirit is going to have to pay $20+ regardless, not only do they want a real book, they’d enjoy receiving a bookmark gift to go with it.
So let’s finish it up…..
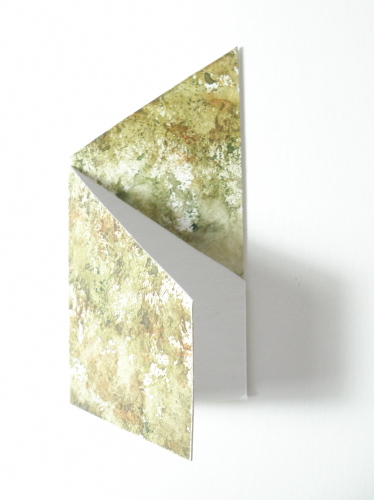
….the remains of the painting reject get chopped into pieces, the largest one measuring wider than 2 widths of the bookmark, because it is going to serve as a sleeve holder…..the smaller piece will become the gift giver’s “To:/From:” tag
….the larger piece gets chopped down further, with the top part cut on the bias, and glue applied to the side and bottom edges. This is then folded shut, and placed under a flat, heavy weight (I recommend ‘War and Peace’, snigger)….
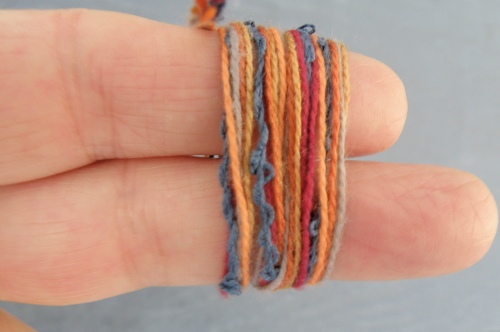
….meanwhile, start your tassel by winding your choice of yarn(s) around the width of two fingers, thereby choosing how big or small you want the finished tassel to be….
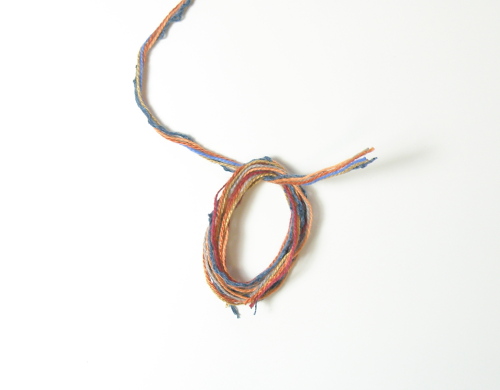
…..thread the tassel loop through with a length of remaining yarn…..
….there are a few ways to handle the rest of this, and I prefer tying a simple knot and then adding a touch of glue to keep from having to knot it twice, thus making it too bulky-looking….
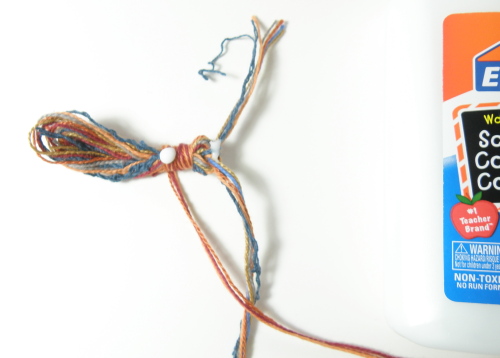
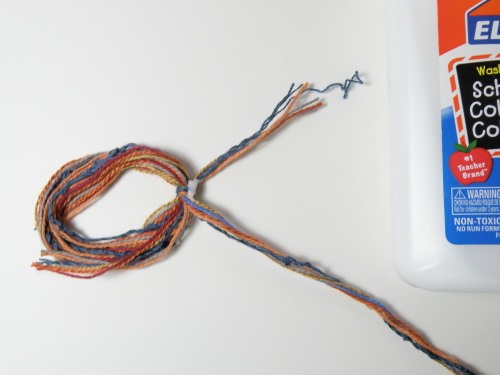
…..wrap a length of yarn below the knotted top to serve as the tassel’s ‘noose’, and secure that with another dab of glue, setting it all aside till the glue has soaked in and dried clear….
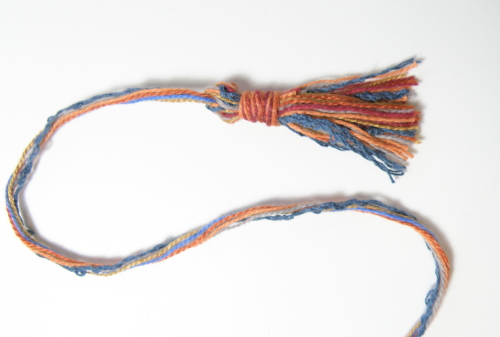
….the frayed ends are trimmed from the knot and the noosed yarn, then the looped bottom is sliced completely across to create the tassel…..
…..the gift sleeve is removed when dry and a complimentary-sized gift card/tag is glued to the front of it…..
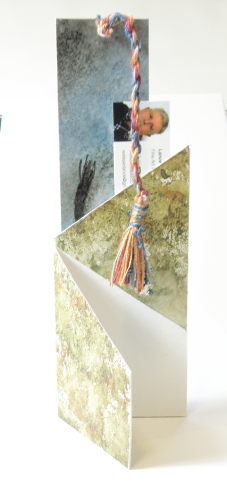
….the completed bookmark, with tassel is inserted into the gift sleeve, accompanied (in this case) with a business card, ready for display and selling…
DIY bookmarks
June 30, 2015
When I was 17, my mother bought me art lessons at The Manchester Art Center, Manchester, Vermont the Summer between high school and college, 1965. Those classes proved to be very memorable. My teacher was a watercolourist I deemed to be old, who was probably a good several years younger than I am now…heh heh.
He advised me to choose my medium carefully and stick with it my whole life, saying, “You’re unlikely to master even one medium, much less a few.” When I told him I wanted to paint in watercolour (because I so enjoyed his), he said, “Ok, good….but now always adhere to the 20 to 1 principle…..for every watercolour you keep, throw out 19.” (IOW, don’t frame often, and if so, make sure it’s worth framing. I think now you know why they were memorable, lol.)
Thus, we come to what to do with the 19. And I cut ’em up and make bookmarks. They sell from between $3 to $5 — $3 for the bookmark alone; $5 for a gift card-type sleeve with gift tag.
Here we go…..
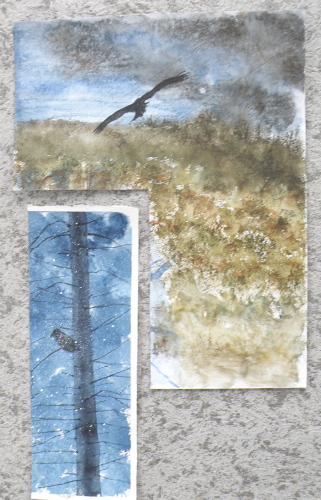
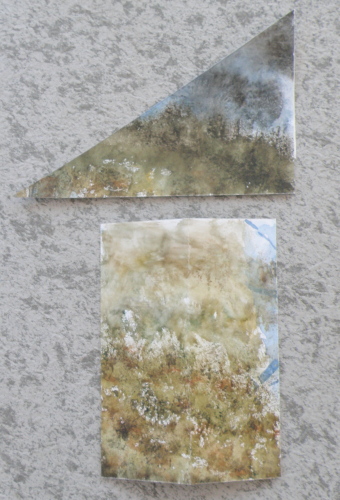
Discarded/cropped portions of paintings…
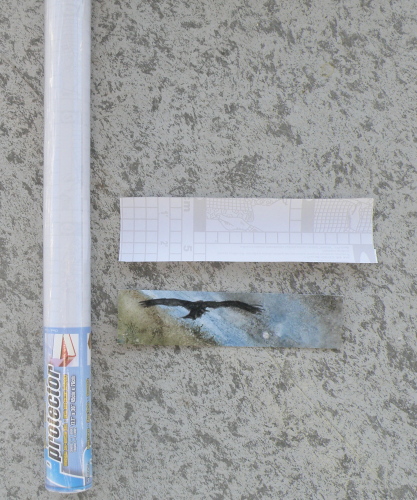
Bookmark part of rejected painting is cut out and also artist signed on front; 2 pieces of protective lamination paper from the dollar store are then cut a bit larger than the bookmark…
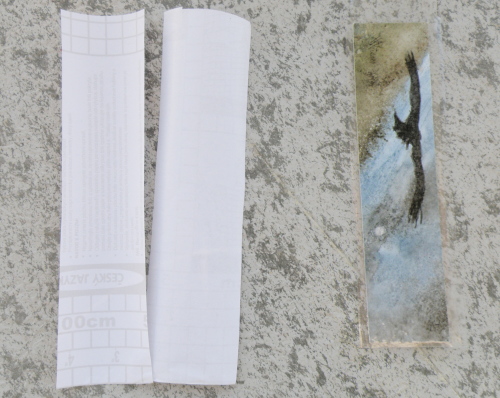
the bookmark is laminated on both sides ….
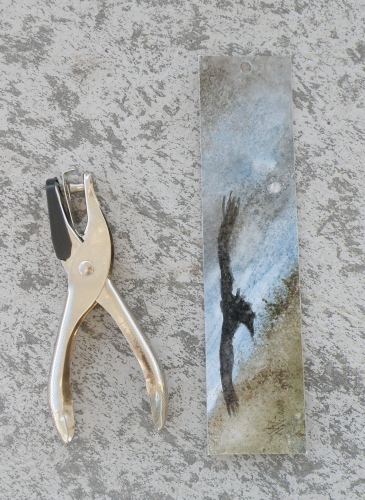
once the laminated edges are trimmed, a paper punch is used to make a hole…..
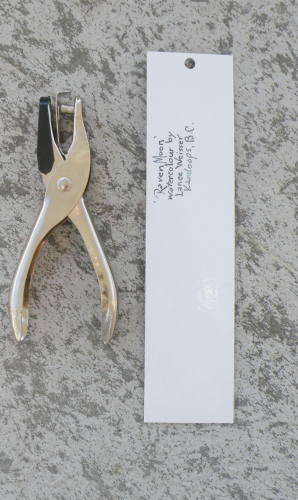
a title (in this case ‘Raven Moon’) and artist info can be written on the reverse before laminating….and the hole is punched at the top
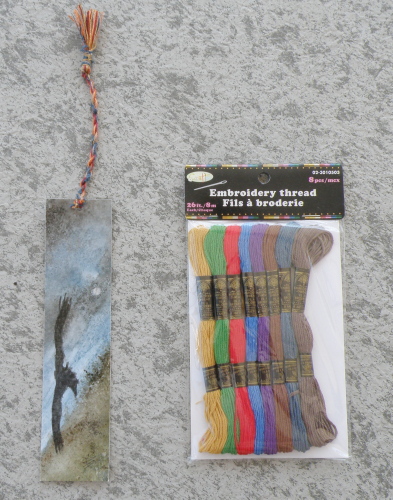
dollar stores also sell embroidery yarn which is then used to make a tassel…
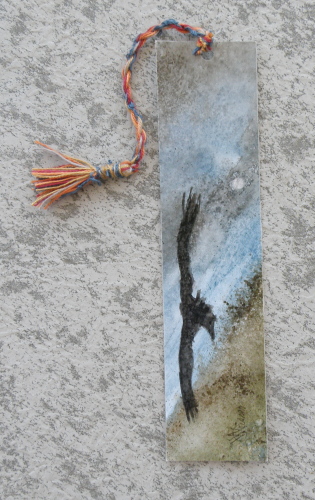
voila
The materials come to practically nothing, cost wise. It’s your time requiring compensation, but I do these watching Netflix, so hey….
Next time I will demo how to make and attach the tassel and also how to make the gift card-type sleeve and gift tag.
eggs as canvas ….
May 5, 2015
DUCK EGGS ARE THE BEST for receiving watercolour pigment. They have a satiny shell surface. Chicken eggs are better if one is using the ancient Ukrainian Orthodox, bees wax, kitska stylus, and dye method.
Chicken eggs have a kind of chalky, calcium-like surface which, yes, can be painted, but feels like the cheaper version of a duck egg. [Oh my, that probably tops your abstruse observation quota for today] Ahem….plowing-on into the arcane . . . a duck egg is more forgiving a surface because removing mistakes is easily accomplished using a Q-tip.

(above) Chicken Egg Christmas ornament using bees wax, Ukrainian kistka stylus and traditional dyes

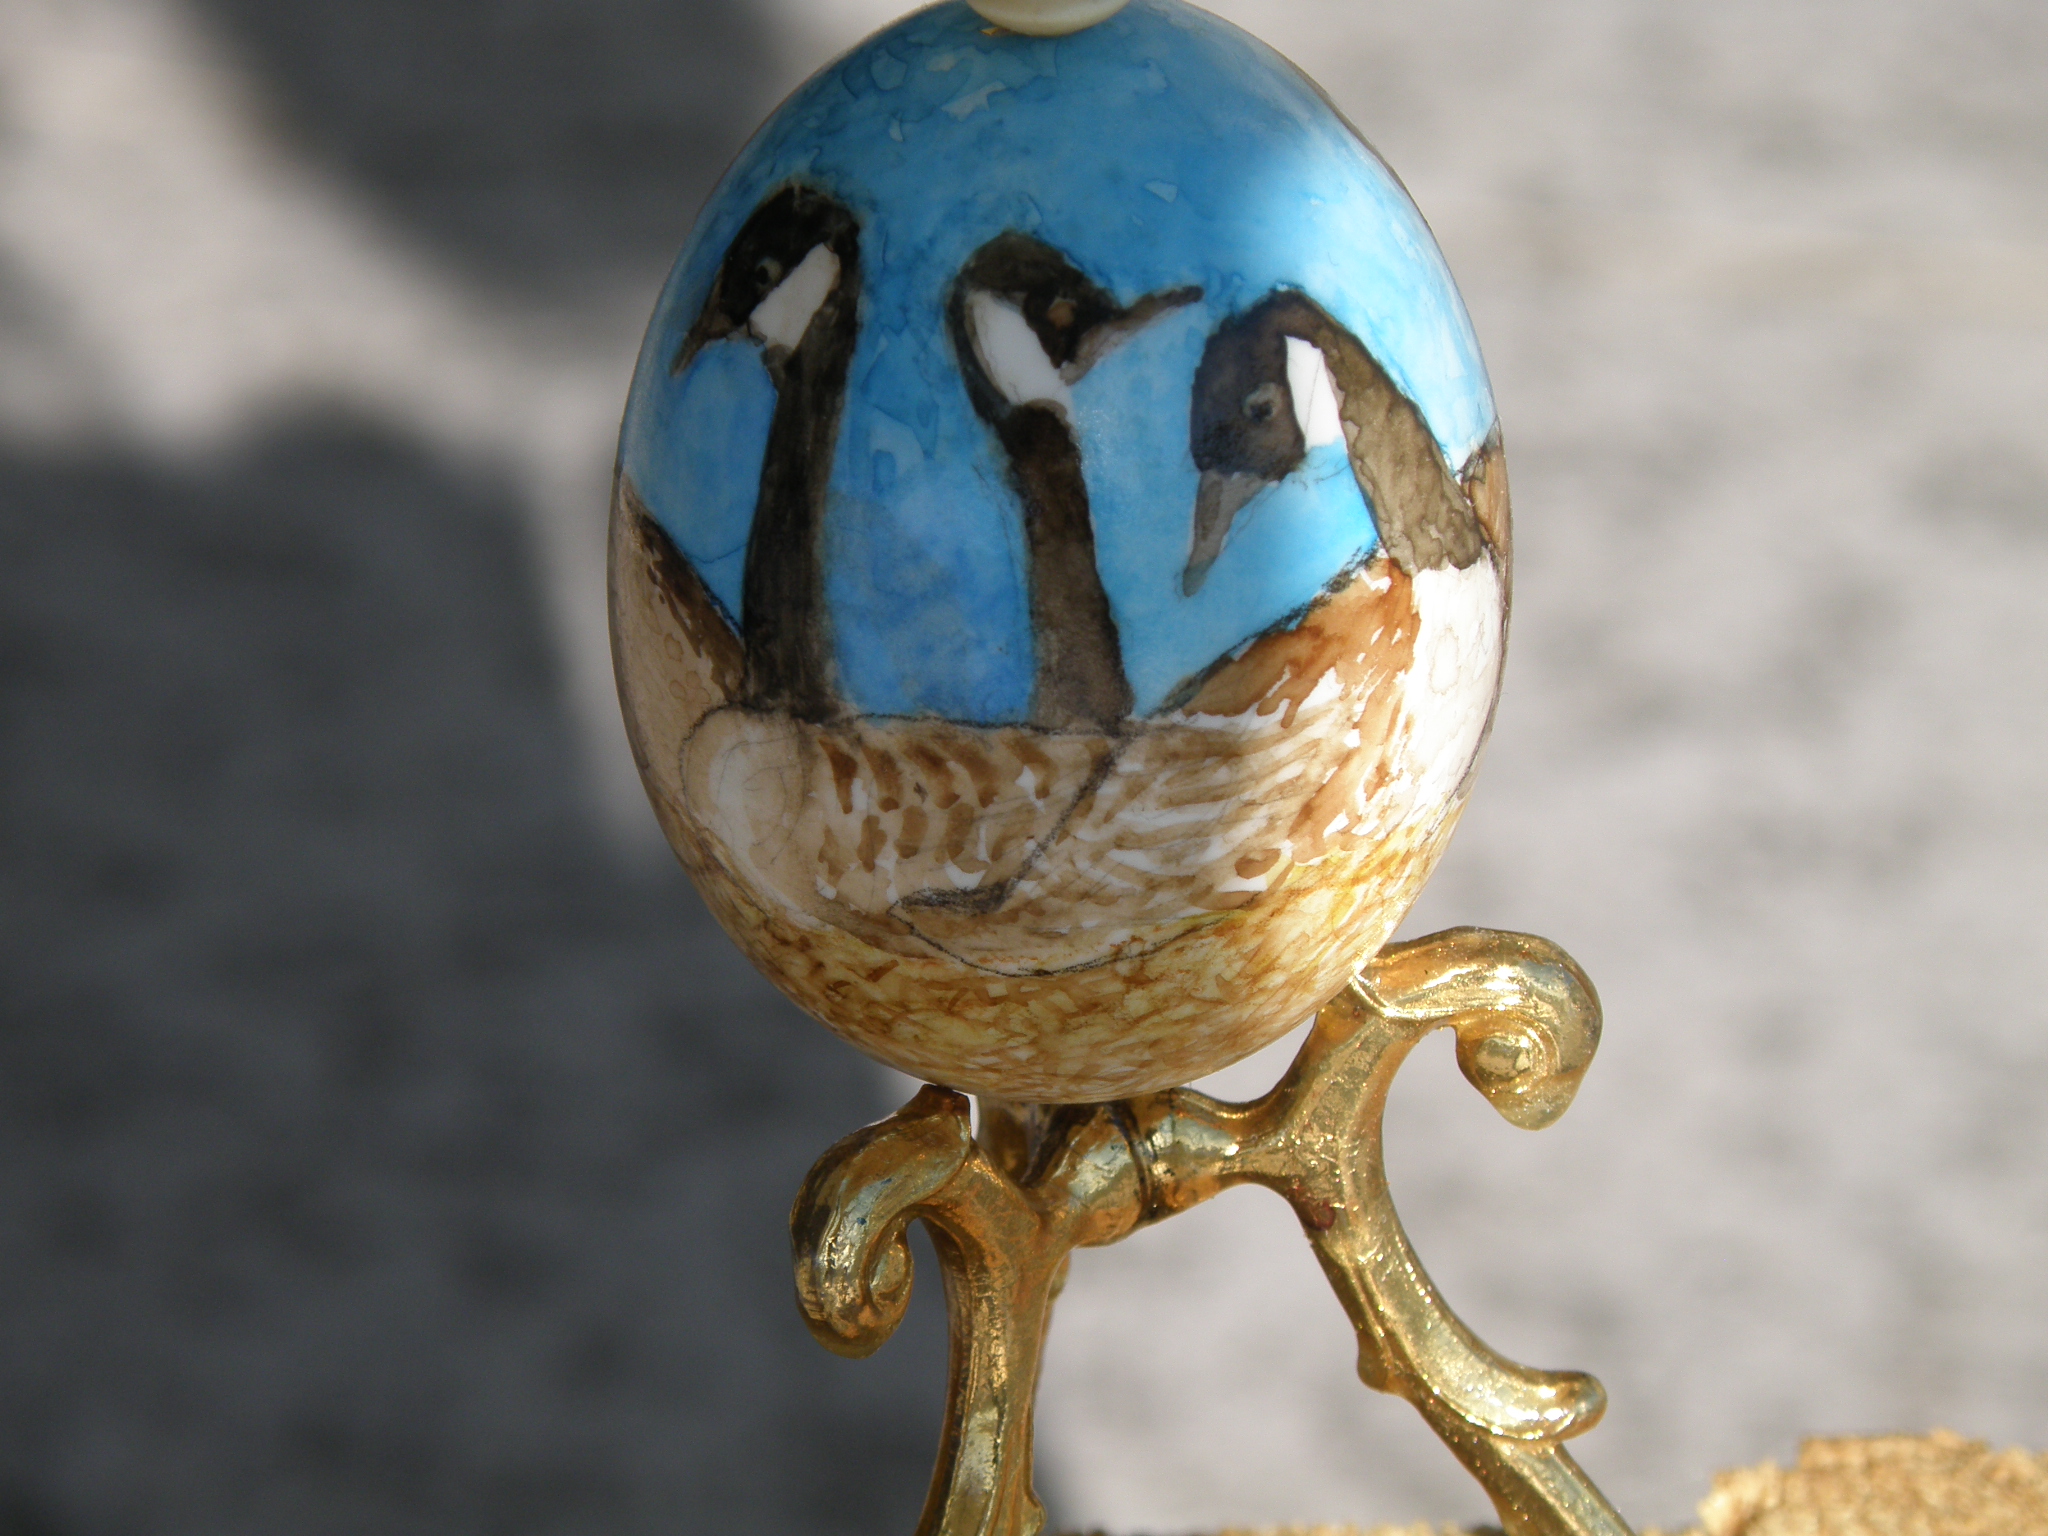
Watercolour Painted Eggs, (four duck eggs, one goose egg)
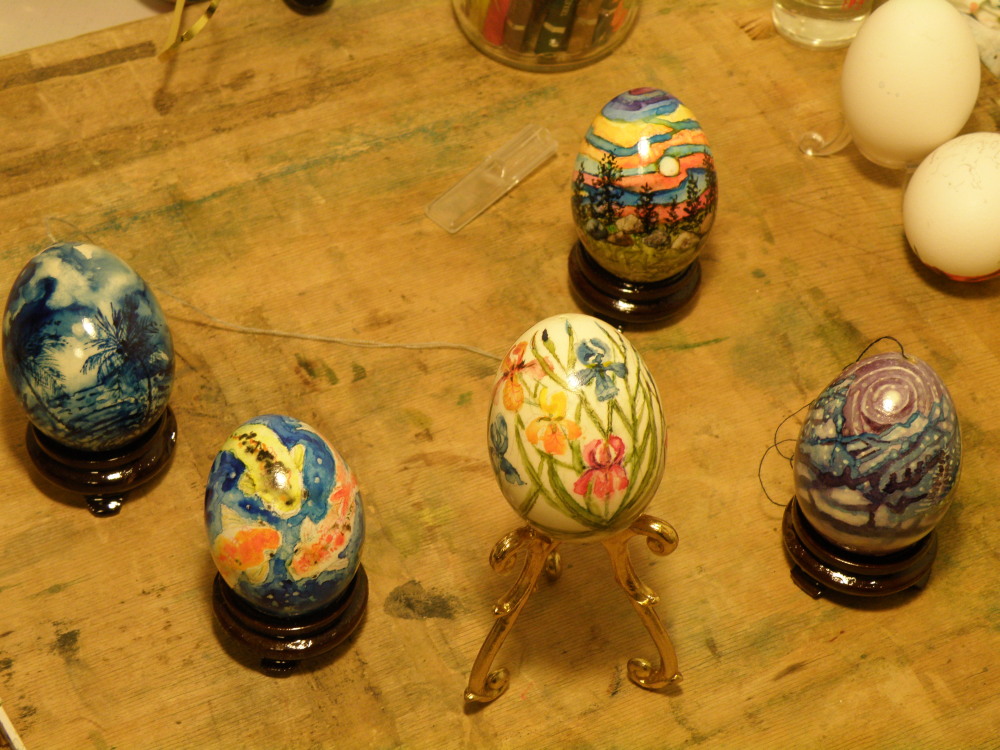
Hand-painted Christmas Egg Ornaments, watercolour, with multiple, clear fixative layers applied for protection.
The impetus for exploring eggs as a painting surface came from my having seen, as a child, hand-painted blown eggs with Spring flowers on them, gathered and hung by streams of ribbon for an Easter breakfast within our German church. Their beauty gave me new eyes and I viewed my grade school wax crayon attempts with a certain childish contempt. And it perplexes me still, that such a long ago vision remained an artistic impulse to do for myself what I saw modelled back then.
What has put my egg art enjoyment on (permanent?) hold is my having received two Peacock eggs that I delayed blowing-out….only to have them explode all over the walls and ceiling just as I was finally drifting off to sleep one night, months after they were given to me.
You seriously do not want to know the level of grossness — the vile, rank, and utter foulness — of having to clean up an entire living room punctuated, peppered, with rotten Peacock egg at one o’clock in the morning.
My childhood vision of hand-painted Easter eggs has been forever cataracted by the Peacock eggs from hell.
