DIY bookmarks
June 30, 2015
When I was 17, my mother bought me art lessons at The Manchester Art Center, Manchester, Vermont the Summer between high school and college, 1965. Those classes proved to be very memorable. My teacher was a watercolourist I deemed to be old, who was probably a good several years younger than I am now…heh heh.
He advised me to choose my medium carefully and stick with it my whole life, saying, “You’re unlikely to master even one medium, much less a few.” When I told him I wanted to paint in watercolour (because I so enjoyed his), he said, “Ok, good….but now always adhere to the 20 to 1 principle…..for every watercolour you keep, throw out 19.” (IOW, don’t frame often, and if so, make sure it’s worth framing. I think now you know why they were memorable, lol.)
Thus, we come to what to do with the 19. And I cut ’em up and make bookmarks. They sell from between $3 to $5 — $3 for the bookmark alone; $5 for a gift card-type sleeve with gift tag.
Here we go…..
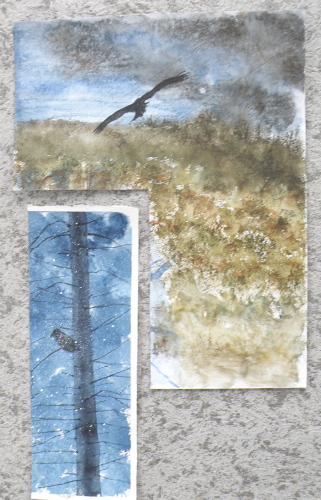
Discarded/cropped portions of paintings…
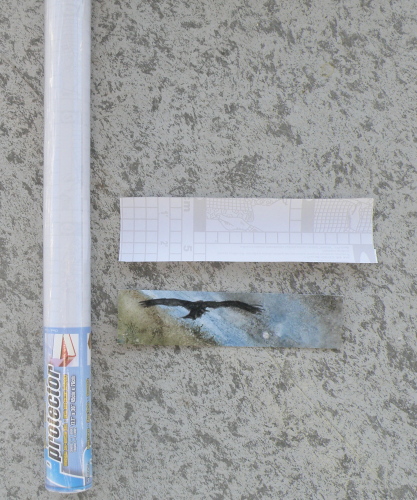
Bookmark part of rejected painting is cut out and also artist signed on front; 2 pieces of protective lamination paper from the dollar store are then cut a bit larger than the bookmark…
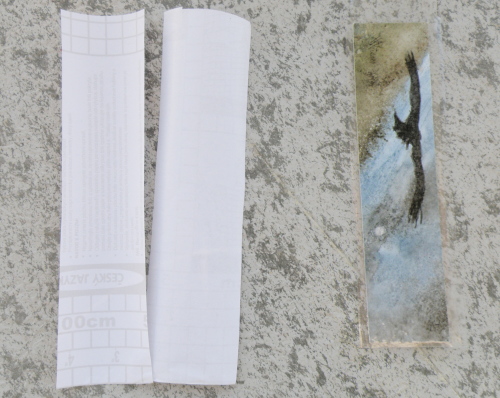
the bookmark is laminated on both sides ….
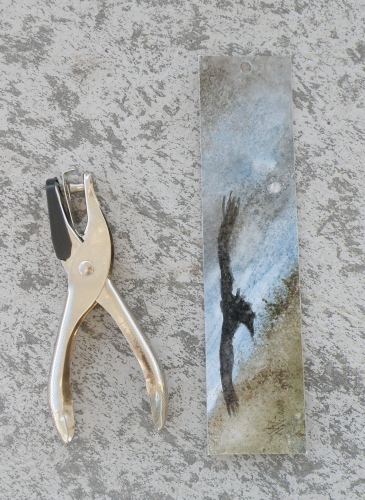
once the laminated edges are trimmed, a paper punch is used to make a hole…..
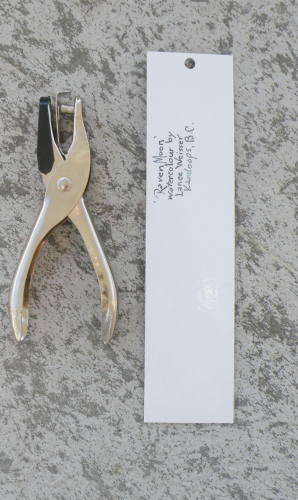
a title (in this case ‘Raven Moon’) and artist info can be written on the reverse before laminating….and the hole is punched at the top
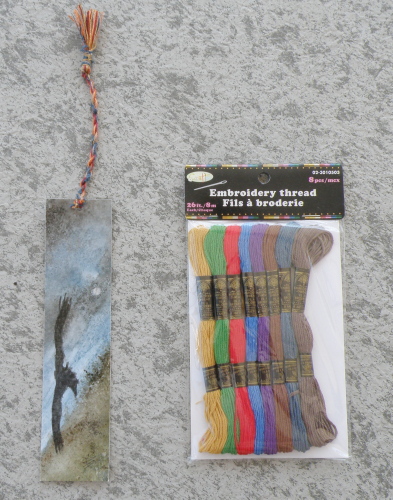
dollar stores also sell embroidery yarn which is then used to make a tassel…
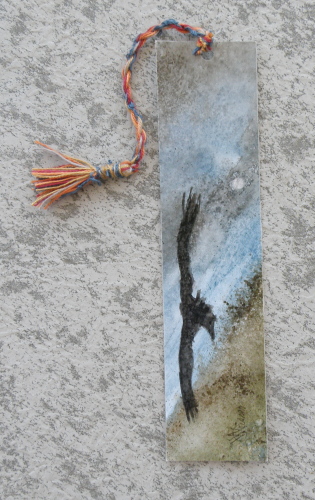
voila
The materials come to practically nothing, cost wise. It’s your time requiring compensation, but I do these watching Netflix, so hey….
Next time I will demo how to make and attach the tassel and also how to make the gift card-type sleeve and gift tag.
